Showing posts with label DIY Projects. Show all posts

June 25, 2014

Bedroom Makeover

It's been a long time in coming, but I think I am finally done with my bedroom makeover!  I happened across the pattern on a throw that I purchased over a year ago at Gordman's.  It took me a long time to find something to use for curtains and the fabric for some pillows.  I am very happy with how it turned out!


Believe it or not, I'll tell you a little secret, shhhhh, don't tell anyone, but the curtains are actually fabric shower curtains!  I know, right?

I then found the fabric online to make the shams and pillow.  The black comforter came with two black shams, but that was just too much black, so I cut them up to make the small pillow!


I even added a little detail to the lampshades!


Mission accomplished!  It's been a very long time since I have had my sewing machine out.  It was fun!!


March 31, 2014

Remodeling....Ugh!

Don't you just love remodeling?  The way it takes over your whole house, makes everything dusty and dirty, sometimes making your husband a little grumpy?  Don't you LOVE it?  {insert sarcasm here}

Our upstairs hallway has looked like this since AUGUST!


And we are only remodeling a bathroom!!  I know....seems like a long time for a bathroom doesn't it?  You should probably know that we live in a 100 year old house.  That explains a lot, doesn't it?? No?

We have learned through our 15 years of owning this home, that no project, big or small, goes as planned.  What always seems like a simple, straightforward project always ends up being something completely different.

With this bathroom...imagine our surprise at finding a 3 inch thick concrete floor that all of our plumbing pipes ran through.   That's right, not under, not over, but through concrete.  We were already going to replace the plumbling from the basement all the way to the 2nd floor, but this made things extremely complicated.  Add to that uncovering a brick chimney under one wall.

So it was stripped down to the studs, new wiring, new plumbing, new walls, new concrete board, new floor, and new bathtub, sink, and toilet. Whew!  And we aren't done yet!


We are getting close!  We painted this weekend, and got the new floor in.  Now Husband is working on trim, then on to the fixtures.

Can't wait to show you the finished room.  Hopefully we'll be done soon!  Until then, we'll just keep living amongst the tools and dust!

July 17, 2013

Bathroom Redecorate

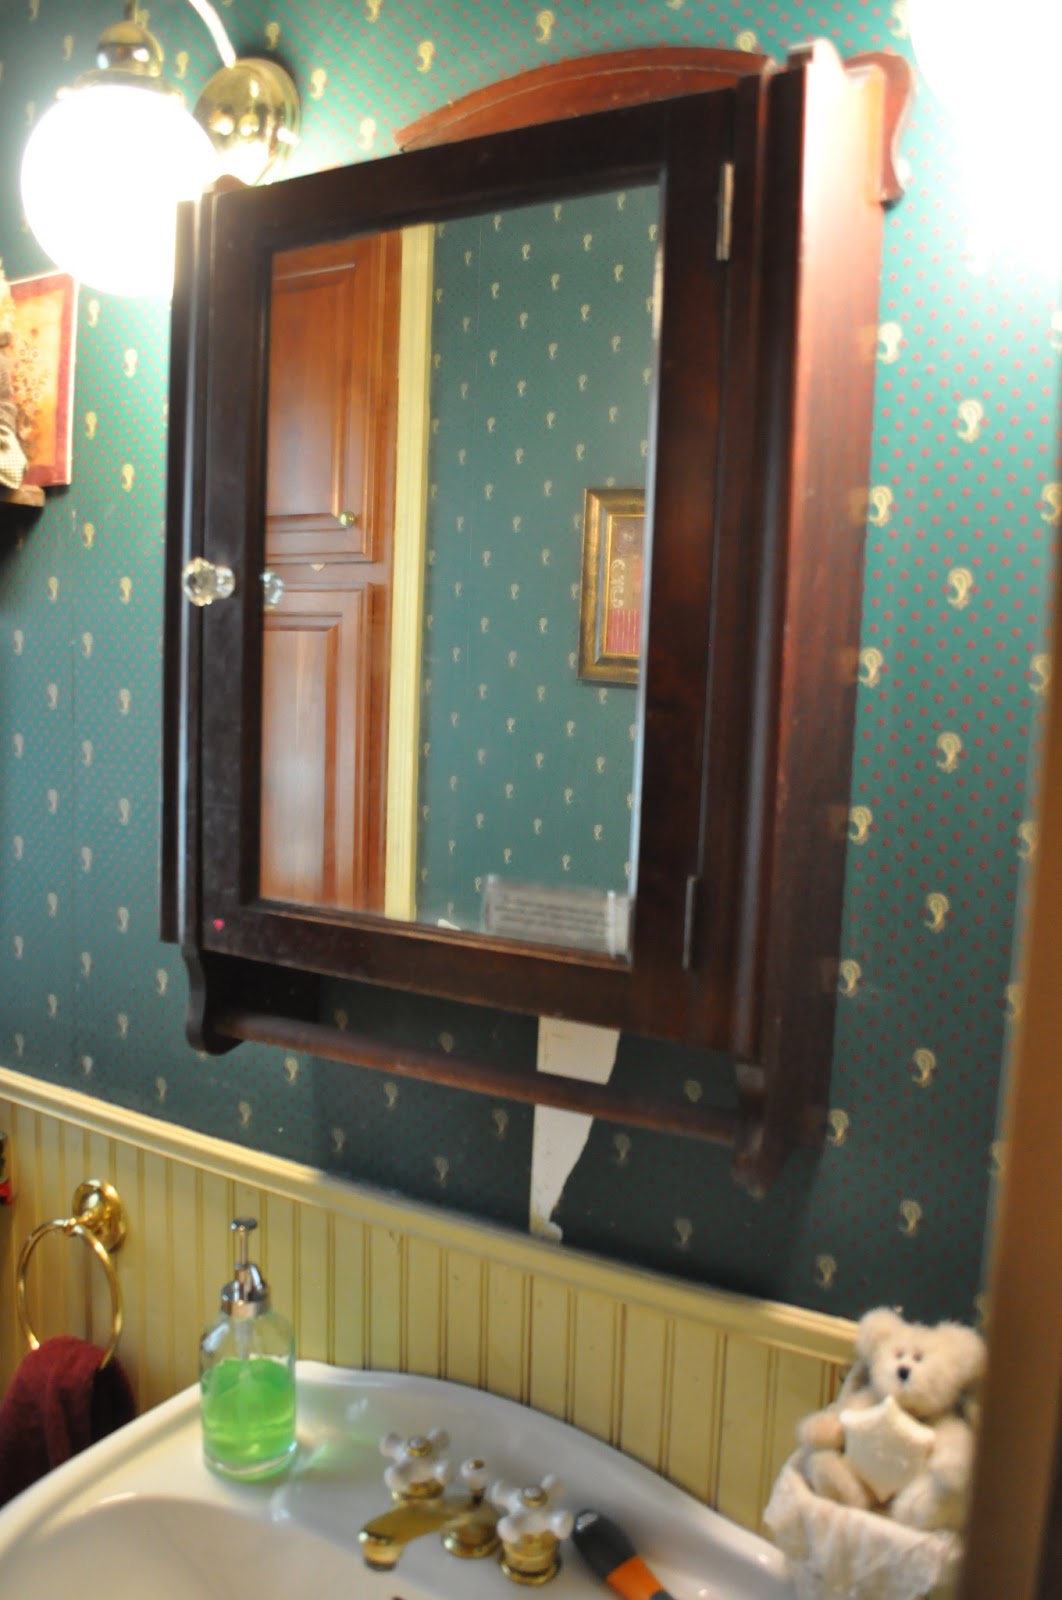
We have lived in this house for 14 years now.  Somehow with all of the other projects that have had to happen around here, this downstairs bathroom never got redecorated.  And oh boy, did it need it.  Take a look at this wallpaper!


See my supplies there ready to strip?  The first hour went very slowly, but after getting more spray on the walls and asking for a little help :) (my kids thought it was fun!) we got it knocked out in a day!


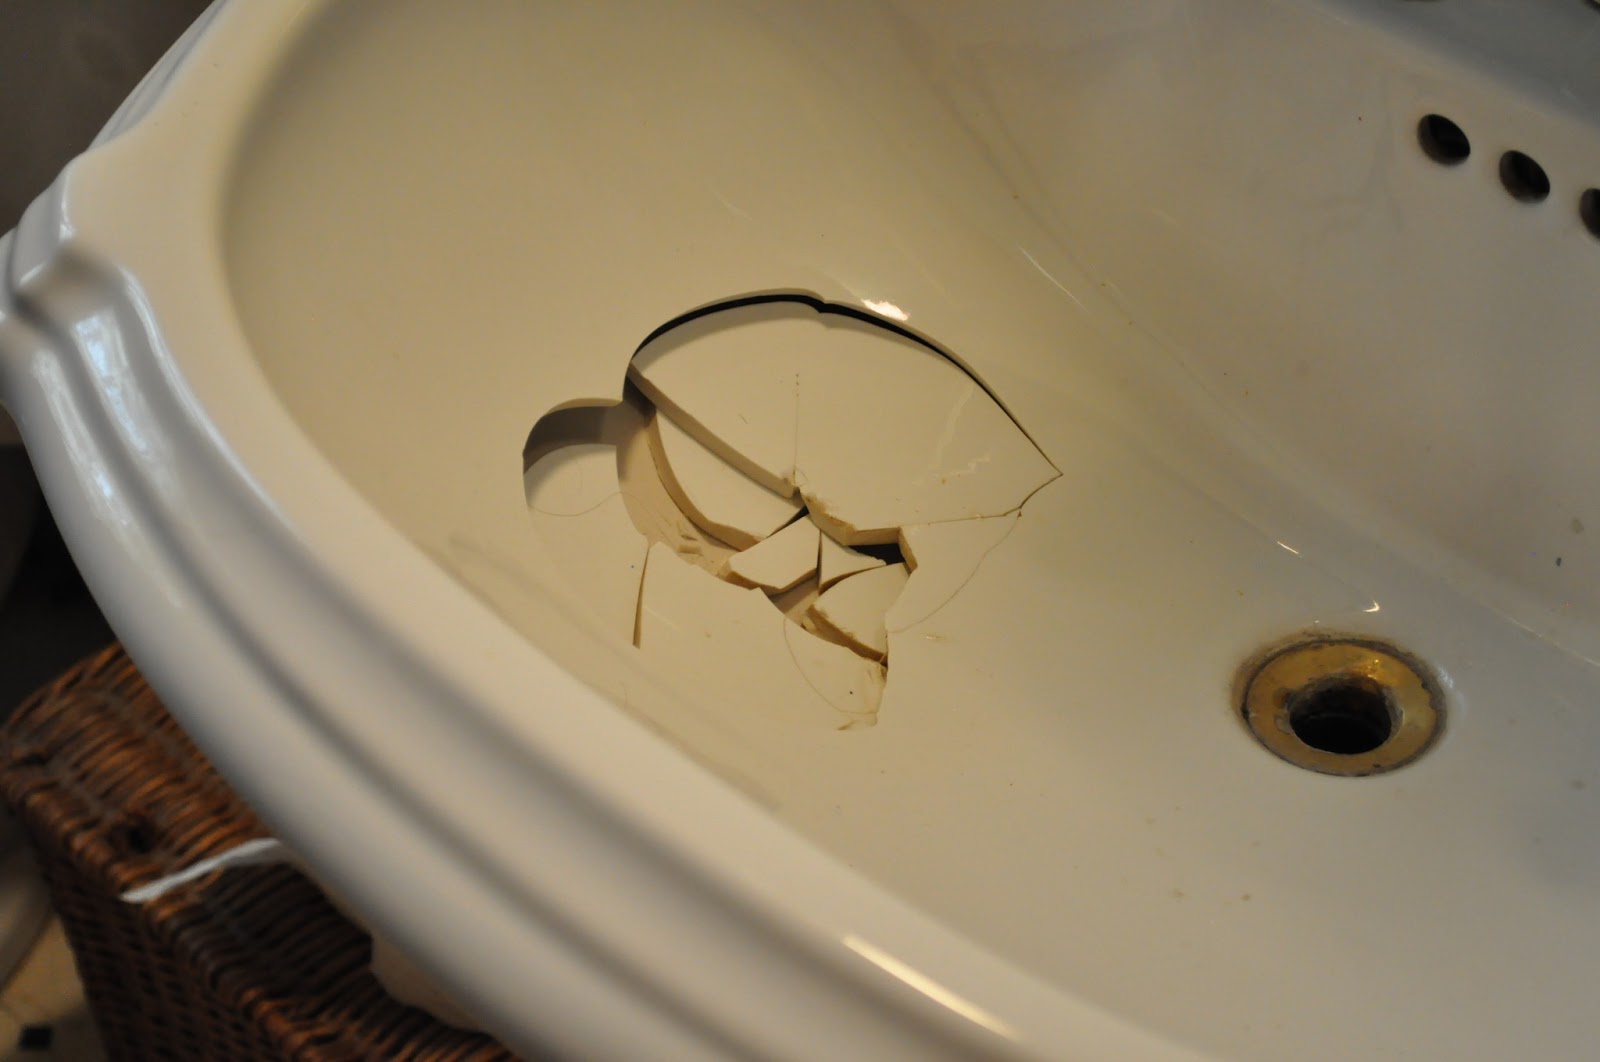
Ugh, right?  With that yellow bead board!  The final straw that put this project at the top of the to-do list was the sink.


It had a crack in it for several years, but this summer it finally caved in.  Well, plus the fact that bathrooms are so pricey to remodel!

Are you ready to see the finished product?  We are so very excited!


The paint is a light sand color on top, with chocolate brown on the bottom.  The blinds are new faux wood, with a homemade cornice that hubby made for me (so easy!).  I simply wrapped it in a layer of fleece and fabric, attached with my staple gun.


Turquoise blue is one of my FaVoRiTe colors, so I incorporated it into the decor.  It will be an easy color to switch out if I would like.


I printed the frame and butterfly on a  page out of a hymnal I had purchased at the library book sale.  The frames are from IKEA. (Who does't love that place?)


My sand and shells are from our vacation over Spring Break to the Gulf Shores.  A perfect addition to my sand wall color!


It is a tiny little bathroom, so our working quarters were very tight.  Usually only one person could work at a time!


I love the new sink cabinet that gives us a little storage underneath, unlike our previous pedestal sink.


I may be most excited about the new floor.  Although just vinyl, it  looks like real wood that matches the dark wood trim throughout our old house.  Added bonus?  We did ALL of the work ourselves.  I am so thankful for a talented husband!


Man, it is such a relief to have THAT project done!!!

November 26, 2012

Pallet Bed with Trundle

What seems like years ago was actually only a few short months ago....summer!  I don't believe I ever shared with you the trundle bed we made for our junior high daughter out of pallets.  It was a lot of work, but it really turned out great.


K loves having friends over, so we wanted to make it far enough off of the ground so that a trundle would fit underneath.  Plus she wanted some place for storage, and we were lucky enough to find these cute zebra bins in the perfect colors that match her room.  (She is a little zebra crazy!)  We found some freebie luggage tags that we spray painted with chalkboard paint so she could label her bins.

But after we incorporated the trundle and the storage space, we realized that it was REALLY far off the ground, so we (by we I mean Husband) built some cool stairs for her to climb into bed.  He even hid her dirty clothes basket within one of the steps!


It was a lot of work tearing apart many of the pallets, but we are really happy with how it turned out.  A note to anyone wanting to build with pallets....it takes a LOT of patience!  You'll find that pallets come in all shapes and sizes so creating a large project can be tricky.  We were very fortunate to find a business nearby that actually encourages people to come use their pallets, and they were free!

We still have lots of pallets left.  What can we make now........?


April 29, 2012

Creating a Fairy Garden

Fairy gardens are all the rage in our area.  What is a fairy garden, you ask?  Well, it's a place you create that the fairies can come and live, of course!  If you haven't seen all of the cuteness available out there to create your own, you are missing out!  Just think of doll house miniatures with fairies, and you've got the idea!

We headed over to our local flower nursery where they have been having classes.  They had a large selection of fairy products, along with miniatures house plants to put in the garden.


We started with this antique basket and I was lucky to find a plastic container that just barely fit!  I like it when I don't have to go buy something new!  We had our plants ready to go to plant.  We chose a couple of cute fairies and a mini croquet set for our garden!


We worked outside to keep the mess to a minimum.  We purchased a package of dried moss and soaked it in a bucket of water to bring it back to life.  I also bought a bag of blue marbled rock to use for our water.  Would you like a little tour?


We were very pleased at this point of our project.  It was so much fun!  We brought it in the house, thinking we would display it in the living room near a window, however the moss was still smelling very "earthy", so we moved it to the front porch for now.


It is a very cute little welcome on our front porch!


The Southern Institute


Linking up with Creative Me Monday.

April 19, 2012

Spray Paint to the Rescue.....Again! It's All Over My Front Porch!

When you live on a tight budget, you can't just run out and buy new when a few things start to look a little old and tattered.  So of course, my first go to is always spray paint.

My wicker bench on the front porch has been around for more years than I can count.  Two dogs have taken their tole, claiming it as their lounge.  It needed some sprucing up!


I also have a high cafe table out on the porch that is black.  I really wanted to bring some cohesion to the porch, so I decided to paint that white as well.  Oh that side table?  Yep, it's getting a coat too! (never mind those kids playing four square in the background!)


Ready to see how it all turned out?  Squee, I am so excited to show you!!!


In the summer time, my table and chairs is a great little place for morning devotions and quiet.  I love the early morning light.


The wicker bench could probably use one more coat of paint because that wicker was so dry it just soaked it all up.  At the time, rain was coming, so I had to finish quickly!  A project for another sunny day.


And here it is all together.  A perfect little spot for company, don't you think?  When are you coming over for a visit?

April 10, 2012

I Love Spray Paint

I've had a blast the last few days sprucing up a few things around the house with a new coat of spray paint! This was a plain silver watering can that I thought needed a lift to match the living room!


I'm sure I saw this on Pinterest, spray painting glass jars! I just saved some spaghetti jars and sprayed away!

I've had this garden statuary for years and it was showing some wear.  Plus I always think it is hard to see when it turns rusty brown!


Bright orange is more like it!


Don't you just love how spray paint can give things new life?

March 13, 2012

I Love Redecorating!


As you've seen through several years of photos here on the blog, our living room has been a "terra cota" color for a long time.  Granted, when you see the photos, I'm sure it looked rather orange after the photo flash was done with it!


After months of debate about our color scheme, we finally dug our heels in and began painting the entry way, living room, hallway, and soon to be stair well and bathroom.


Want a peak?  I am so very excited!


Quite a change huh?  I absolutely love the colors!  I wasn't so sure when we got started because the taupe was very light, but it has darkened over several days and I am so happy!  I'm not sure what we'll do for window dressings yet, so we put the sheers back up just so we wouldn't have naked windows!

I'm very much looking forward to buying a few new things for decor.  Do you like redecorating?

LinkWithin

Related Posts Plugin for WordPress, Blogger...